As a departure from what normally appears here, today I’d like to mention horseshoes. Some of you may not be aware that I spent many years as a farrier (horseshoer). Although I no longer practice as a farrier for the public, I continue to provide hoof care for our personal horses.
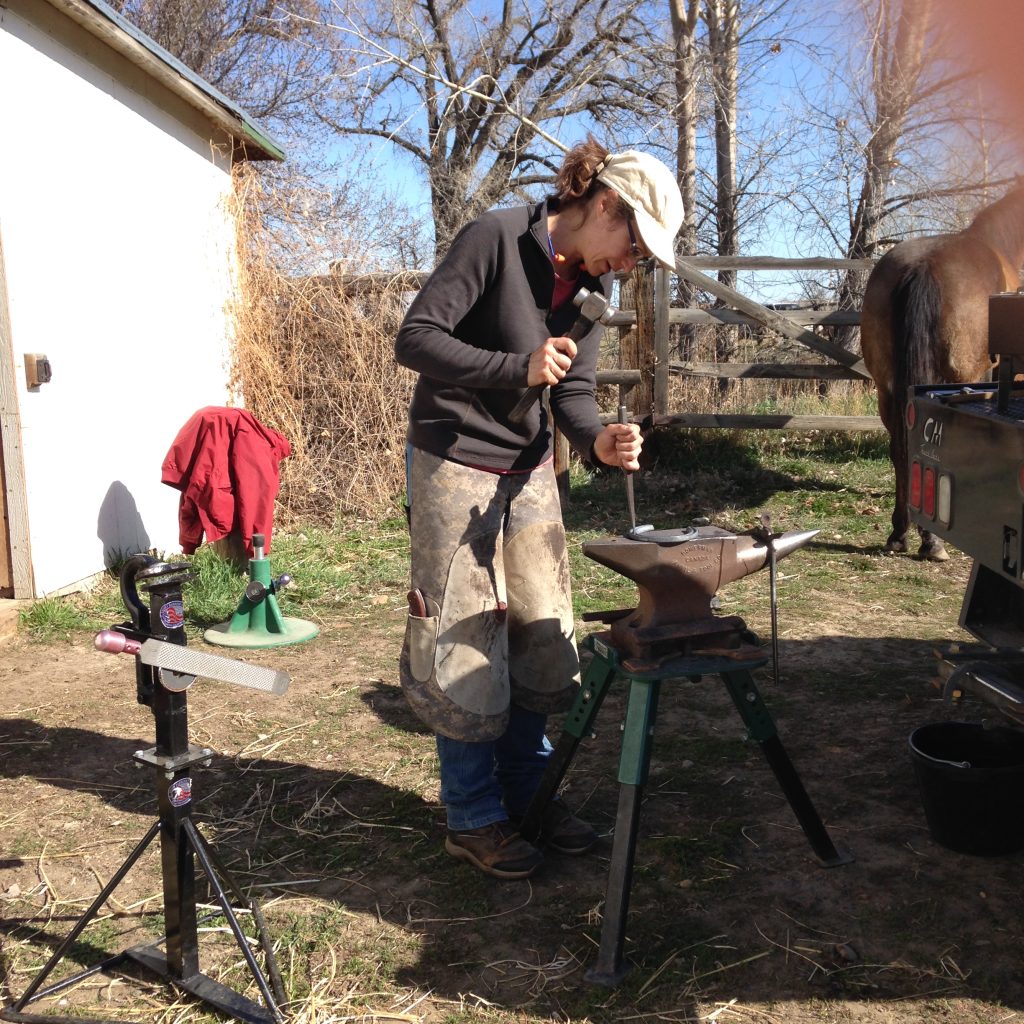
Farriery is intriguing work. Just being around horses is the best aspect. I love the physicality of it, too. Working beneath the horse requires flexibility, strength, the use of just about my entire body as well as the acute use of my mind and an exquisite feel for the hoof and the horse above. Working at the forge and anvil, either shaping shoes or making shoes, requires all of the same. One of my early farrier instructors said that when a person trims and/or shoes horses, that person should be as tired mentally at the end of the day as physically. I have found this to be true.
Fortunately, early in my career I learned to build, or forge, horseshoes. This allowed me to apply an appropriately sized shoe to a particular hoof, build shoes for therapeutic purpose and generally improve my overall shoe shaping and forging skills. I had the opportunity to learn from some of the best farriers in the world, for which I am thankful.
In this age of instant gratification and technological advances, the tactile process of building horseshoes is a breath of fresh air. Not to mention just plain satisfying. When I stand at my anvil to build horseshoes, I enter an ancient and connected to the earth realm. I work with fire (for me, a propane forge), iron (contained in the steel bar stock I form into horseshoes), and water, which I use to cool my tongs from after they have held the hot shoes-in-the-making. Water is also utilized to control where the heat is in the steel I use to build horseshoes, to help a particular shape and/or bend form easier. Water can also used to isolate the heated area of the steel to allow for a feature. One of these features, for example, is thickening an area of the shoe for a specific purpose. I like that water, the seemingly “weakest” of the three elements, is really the linchpin in the process.
Without going on and into great depth about the process of building horseshoes, here is a piece I compiled a few years ago about the process in an easy to understand way. The following link directly below this paragraph, “Making Evaristo’s Shoes” will take you to the document, which is located in Adobe InDesign. Navigation tools are located on the lower right area of the screen, and you can scroll through the pages by clicking on the arrows located in the body of the screen, about mid-level. Also, some of my readers may already be familiar with this piece.
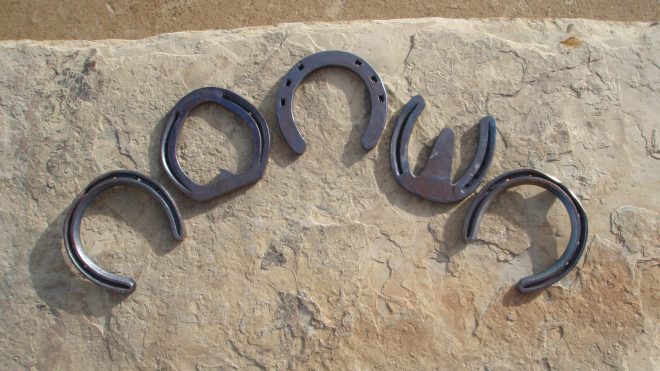
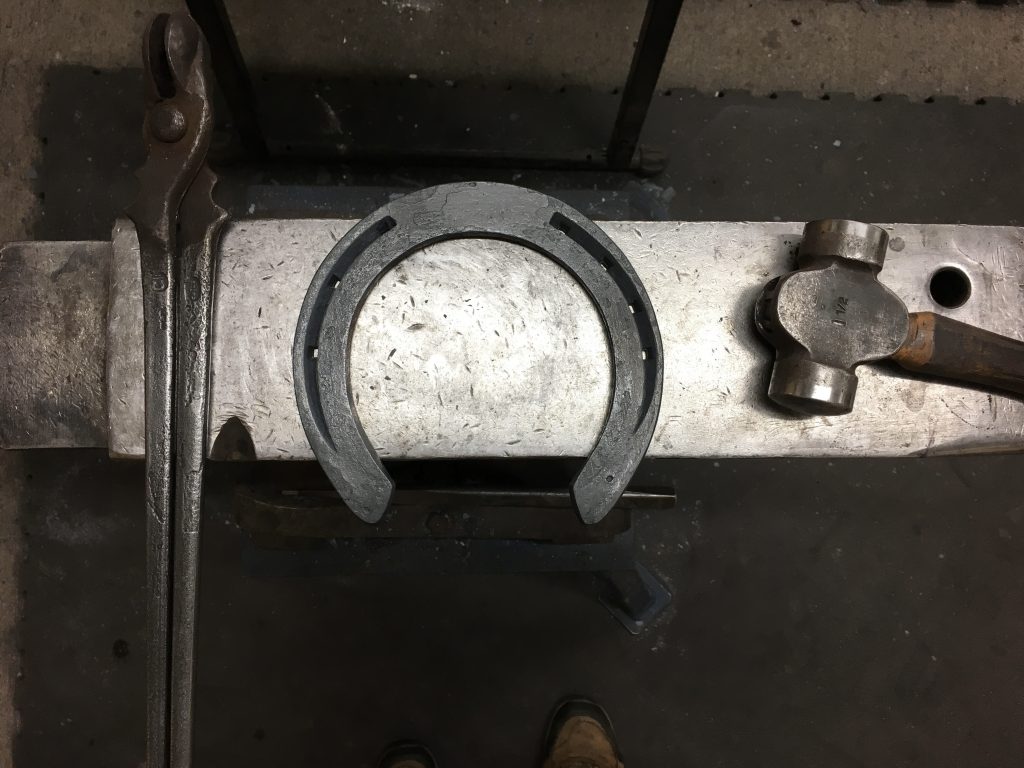
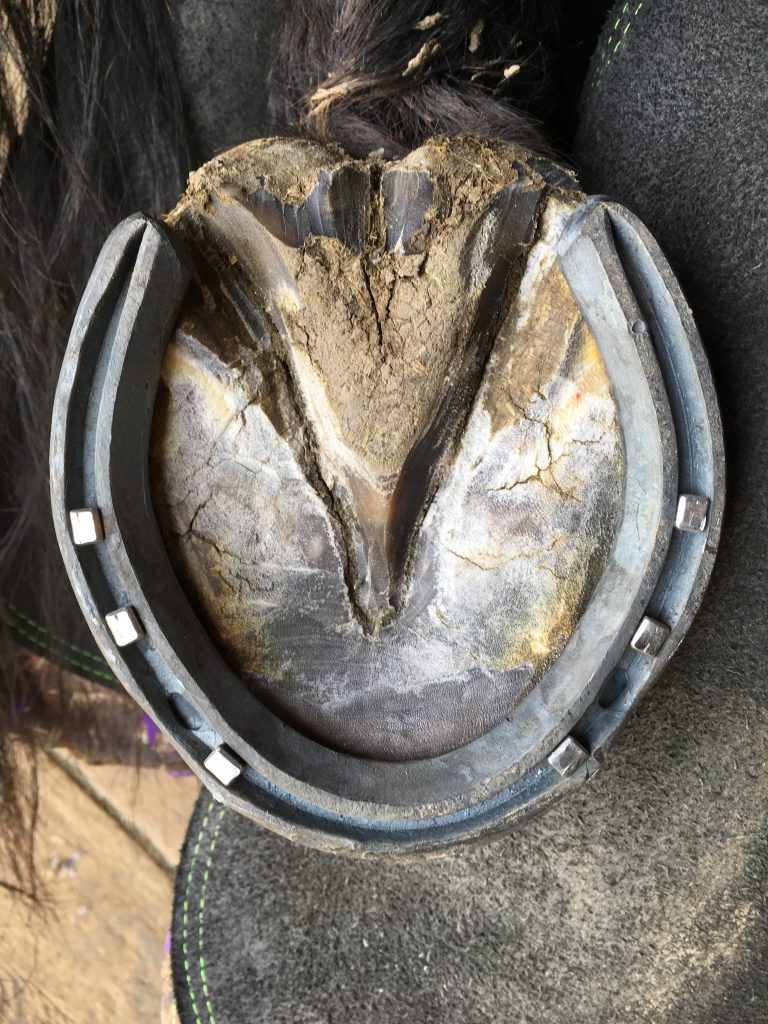
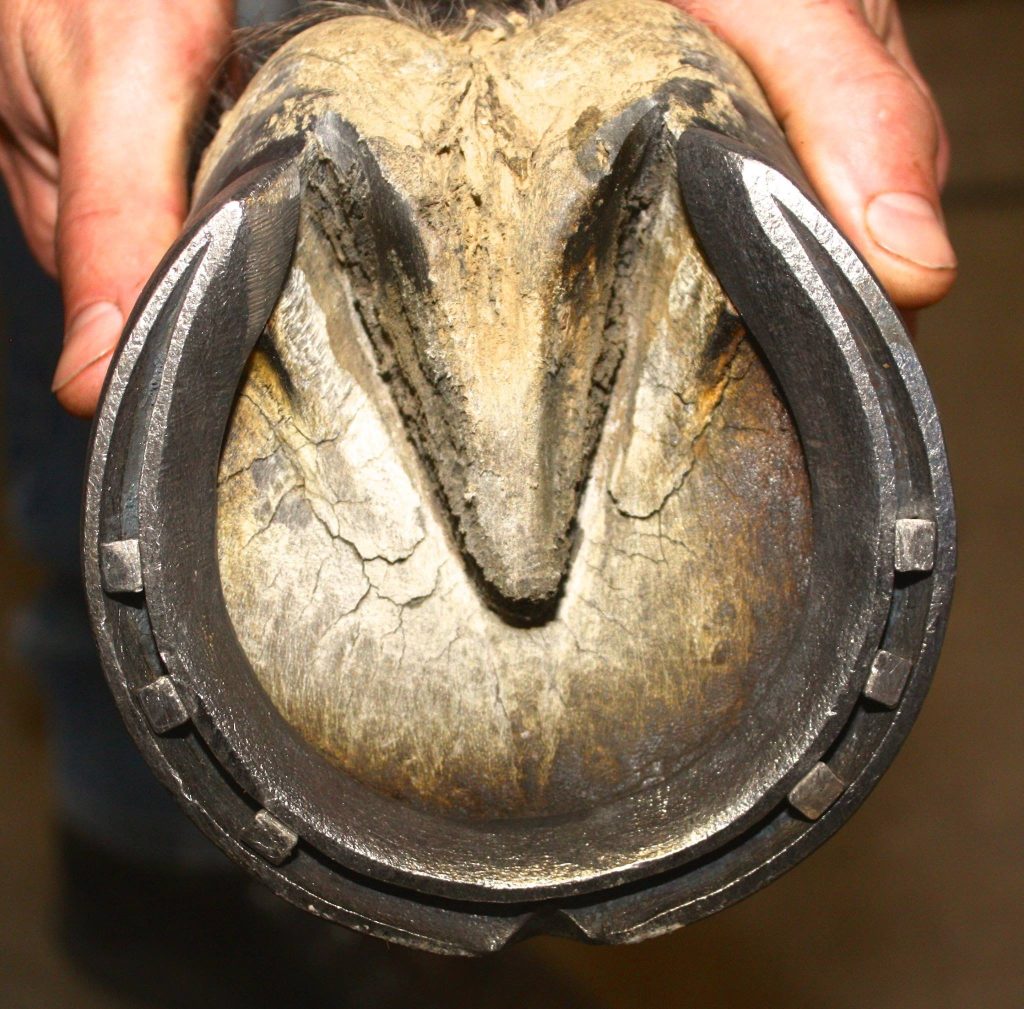
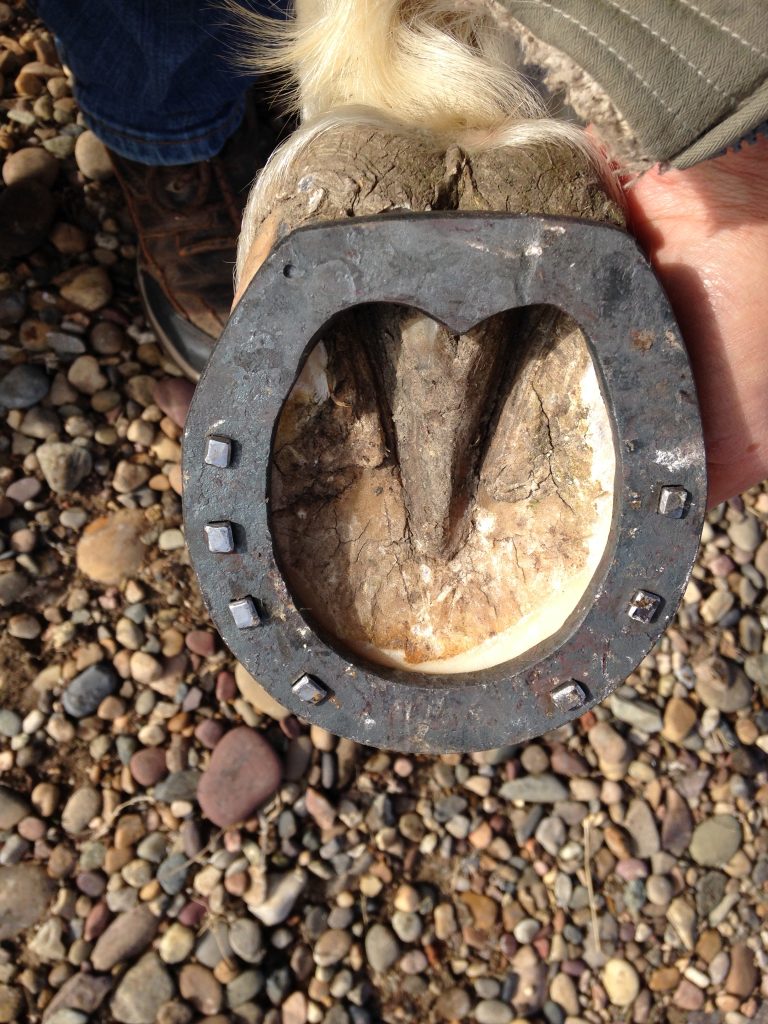
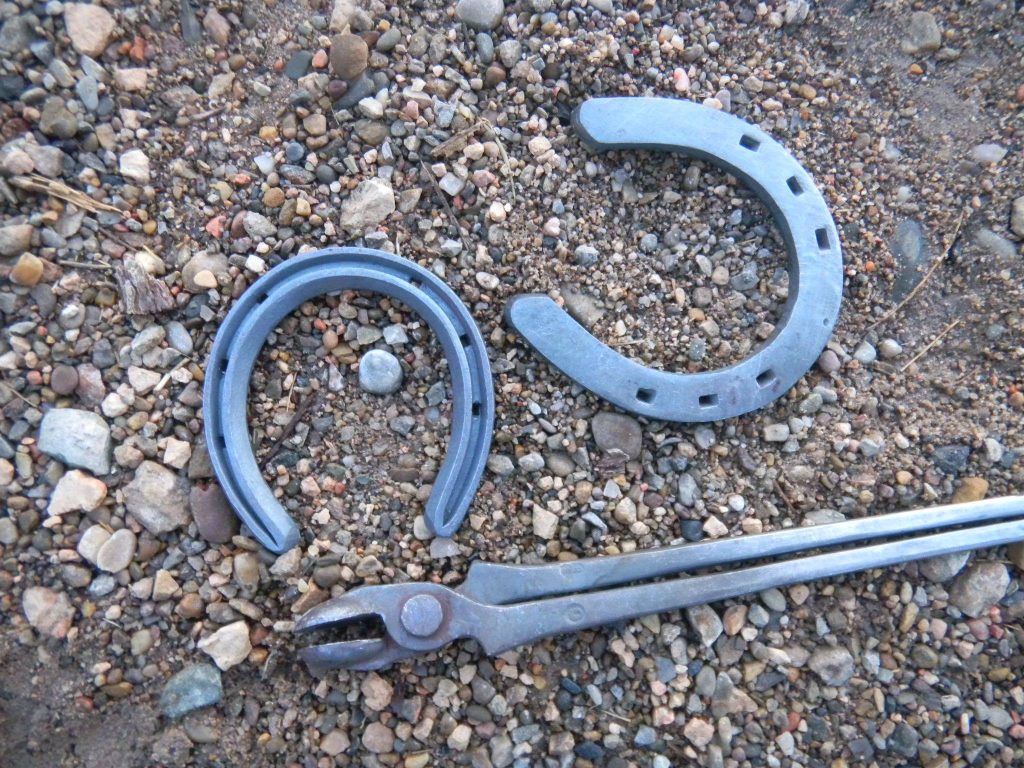
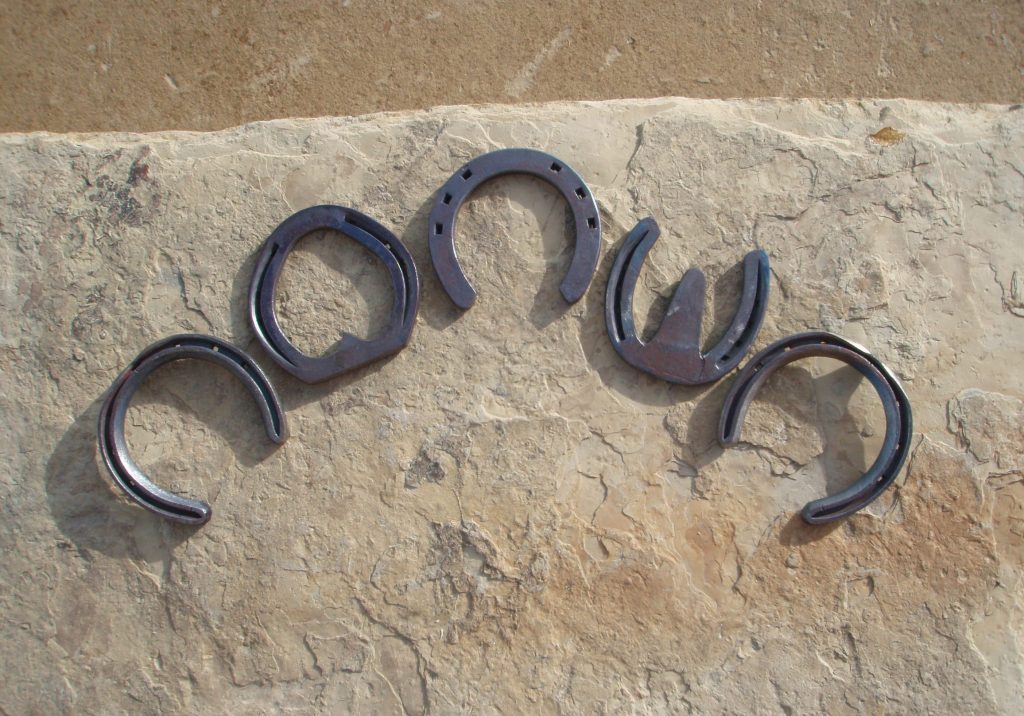
Below are a selection of photos of horseshoes I’ve made. Intriguing work on all levels.
Thoughts on building horseshoes…
There is a feel while making horseshoes, which even now causes my fingertips to tingle. As I hold my hammer in my right hand and tongs in my left, I can feel the steel my tongs hold that will become the horseshoe, though it is an orange heat and way too hot to grasp with my hands. The steel feels soft and giving when my hammer blow lands where I intend. The accuracy of the blow originates in thought and travels through my body. The energy flows through my hand, into my hammer which transports the blow to the steel. An effective hammer blow feels like it “sticks” to the spot I am aiming at. This “stickiness” is effectiveness. But the hammer blow does not stop at the steel. The energy of the blow goes through the steel, yet acts upon it. Beyond the steel is the anvil, and the energy of the hammer blow goes into the anvil. The anvil absorbs this energy, and returns it with equal force. The anvil shapes and forges the steel as much or more as I do. When this process flows, there is intimacy and connection. I do not feel I am separate from hammer, tongs, steel, forge and anvil. We are all one.
I thoroughly enjoyed reading about another layer of you. Also about horse shoeing!
Thank you, Paige!
Loved the story and your mental images. The photos never appeared for me however.
Thank you, Janet! So good to hear from you. Also, thank you for the heads up about the photos. Not sure what is going on there, but I will see if the same thing has happened to others.
Thanks for this, Jenny. As an onlooker, horse owner, I have always been impressed by the tremendous skill and physical strength of the farrier. Reading your pieces offers an insight into the craftsmanship allowing the reader to share in the shoer’s tale. Thank you for this rich glimpse of the true depth of your work, and the physical and mental expenditure behind it.
Thank you, Sara! Writing about farrier work reminds me of how consuming it could be. Both a positive and negative! It is interesting that now, as I am not feeling pressured with the work, that I enjoy it much more and see more than I used to.